
Hey there, friends! 🎉 If you’re like me and love creating videos—whether it’s for YouTube, social media, or just for fun—you know how important it is to have a reliable video editing software at your fingertips.
And guess what? Today we’re going to chat about one of the best free options out there: Movavi Video Editor.
So grab your favorite drink, sit back, and let’s explore how this software can take your video editing game to the next level without costing you a dime!
What Makes Movavi Stand Out?
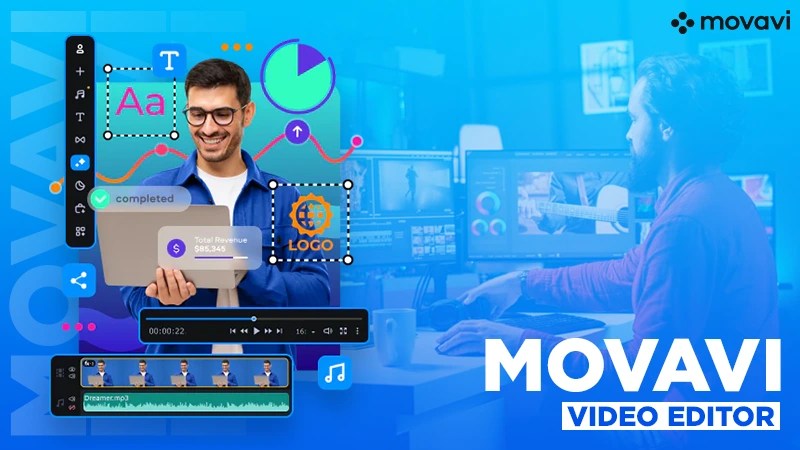
First off, let’s talk about why Movavi is a go-to choice for many aspiring videographers and casual creators alike. It’s user-friendly and packed with features that make editing a breeze—even if you’re just starting out!
The intuitive interface means you won’t be overwhelmed by buttons and options. Instead, you’ll find everything you need right where you expect it. Plus, it runs smoothly on most PCs, so no more waiting around for your edits to process!
Key Features to Love
Now that we’ve set the stage, let’s dive into some of the standout features that make Movavi Video Editor worth checking out:
- Easy-to-Use Timeline: The drag-and-drop functionality makes arranging your clips super simple. You can easily cut, split, and merge videos with just a few clicks!
- Wide Range of Effects: Want to add some pizzazz to your videos? Movavi comes loaded with filters, transitions, and titles that can help bring your vision to life.
- Audio Editing Tools: Good sound is half the battle when it comes to video production. With Movavi, you can adjust audio levels, add background music from their library, or even voiceover your clips.
- Export in Any Format: Once you’ve crafted your masterpiece, Movavi allows you to export in various formats suitable for any platform—be it Instagram reels or YouTube uploads.
- Tutorials Galore: If you ever get stuck or want to upskill quickly, Movavi offers a plethora of tutorials that walk you through every feature step-by-step.
How to Get Started with Movavi
Ready to jump in? Here’s how you can get started with Movavi Video Editor:
- Download the Software: Head over to the official Movavi website and grab the free version of their video editor. Don’t worry; it’s easy-peasy!
- Install It on Your PC: Follow the straightforward installation process—just like installing any other software.
- Import Your Videos: Once you’re all set up, import the clips you want to edit into the timeline.
- Edit Away: Play around with the features! Cut those awkward pauses out of your footage or throw in some catchy music.
- Export and Share: Finally, once you’re happy with your edits, export your video in your desired format and share it with friends or post it online!
A Few Tips for Editing Like a Pro
Before we wrap things up, here are a few quick tips to help elevate your video editing skills:
- Keep It Concise: Attention spans are short! Aim for clarity by keeping your videos snappy.
- Experiment with Effects: Don’t be afraid to try different effects until you find what fits best.
- Stay Organized: Label your clips and keep everything tidy in folders—it’ll save you time when editing!
- Seek Feedback: Share drafts with friends before going public; fresh eyes can spot things you’ve missed.
Conclusion
And there you have it! Movavi Video Editor is an amazing free tool that empowers anyone looking to create stunning videos without breaking the bank.
Whether you’re editing family vacation footage or crafting content for your channel, this software has got all the features you need to shine!
So why not give it a try? Download Movavi today and start transforming those raw clips into fabulous films! Don’t forget to share what you’ve created—I’d love to see your work!
If you’ve enjoyed this post or have any questions about video editing (or anything else!), drop a comment below! Let’s keep this conversation going!
Happy editing! 🎬✨
Sincerely, G & G”s
