
Imagine being able to share your ideas seamlessly or capture those epic gaming moments without any hiccups. A reliable screen recorder isn’t just nice to have; it’s essential for making sure everything runs smoothly. So, if you’re stepping into the live streaming scene, don’t overlook this important tool—it could elevate your whole experience!
Movavi Screen Recorder is a versatile option that offers robust features for all your live streaming needs. T
his guide explores how to efficiently live stream using Movavi Screen Recorder.
Why Choose Movavi Screen Recorder?
Movavi Screen Recorder is known for its user-friendly interface and powerful recording features, making it a top choice for many users.
Here are some key reasons to consider it for live streaming:
Key Features
- High-Quality Recording: Capture screen activities in HD quality.
- Intuitive Interface: Simple and easy-to-use, even for beginners.
- Advanced Editing Tools: Basic editing features to enhance your content before streaming.
- Multiple Format Support: Export recordings in various formats to suit your needs.
- Scheduling Capabilities: Set up automatic start times for recordings.
Setting Up Movavi Screen Recorder for Live Streaming
Step 1: Installation
- Download and install Movavi Screen Recorder from the official website.
- Follow the setup instructions to install the necessary components on your device.
Step 2: Configuring Settings
- Open the software and navigate to ‘Preferences.‘
- Adjust the video quality, frame rate, and audio settings to match your streaming requirements.
Step 3: Preparing to Record
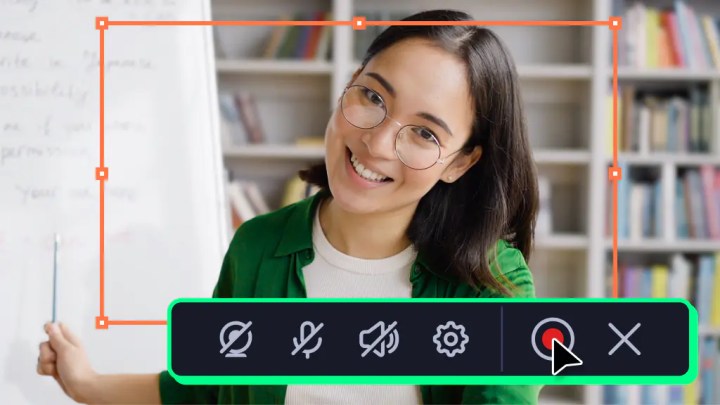
- Select the recording area by adjusting the capture frame on your screen.
- Choose whether to record system audio, microphone audio, or both.

Step 4: Starting Your Live Stream
- Click the ‘REC’ button to begin recording your screen activities.
- Use the pause and stop buttons to control the recording session.
Tips for Successful Live Streaming
1. Test Your Setup
Before going live, test your setup to ensure everything works seamlessly. This includes audio checks, streaming platform connectivity (e.g., YouTube, Twitch), and internet stability.
2. Ensure Quality Audio
Invest in a good microphone to improve audio clarity and enhance viewer experience.
3. Plan Your Content
Outline the key points and flow of your live stream to keep the content engaging and coherent.
4. Engage With Your Audience
Interact with your audience through live chat features. Responding to comments can increase viewer engagement and retention.
Common Challenges and Solutions
Challenge: Low Stream Quality
- Solution: Adjust the recording quality settings and ensure a stable internet connection to enhance stream quality.
Challenge: Sound Issues
- Solution: Double-check audio source settings within Movavi and ensure external microphones are properly connected.
Challenge: Overheating Device
- Solution: Keep your device well-ventilated and consider using a cooling pad to prevent overheating during long streaming sessions.
Conclusion
Movavi Screen Recorder offers a simple yet powerful solution for all your live streaming needs. By setting up and utilizing its features effectively, you can deliver high-quality content and connect with your audience in real time.
Whether you’re a budding content creator or a business professional, mastering Movavi Screen Recorder can elevate your live streaming endeavors to new heights.
Sincerely, G & G’s
We’d love to hear from you! If you’ve got any experiences to share or some extra tips that could help others, drop them in the comments below. Your insights could make a real difference.
